Sunday, August 14, 2011

Dining Table - Part Five - Filling Pocket Holes

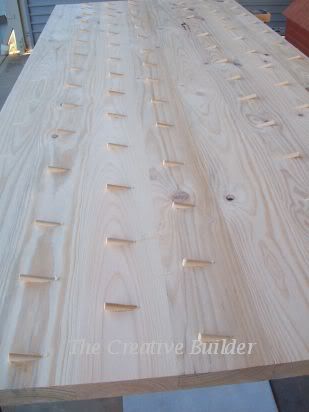
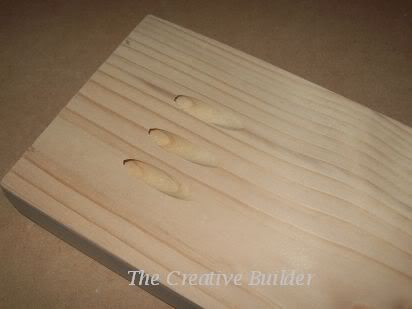
In my previous post I posted pictures of how I joined the tabletop together using Pocket Holes. These create an extremely strong joint but as you can see the holes left are large. You can purchased wooden plugs to place in the pocket holes but they can work out expensive so I decided to make my own.

I purchased 9.5mm pine dowel in lengths of 1.2m and cut them down to the appropriate length to place into the holes, I was able to cut 24 plugs out of each length. I popped a little PVA glue into each pocket hole and slide on one of my home made plugs.

Photobucket

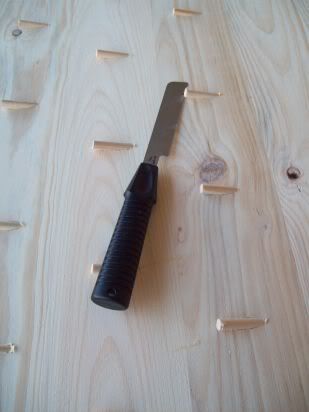
Once I had them all in and the glue dried I needed to flush cut them so they would blend in with the rest of the table top. I used a flexible flush cut saw, this thing is great, the teeth are only on one side and the other side is flat. This allows the saw to be flush against the piece you are working on to cut the dowel without marring the good surface.

Photobucket

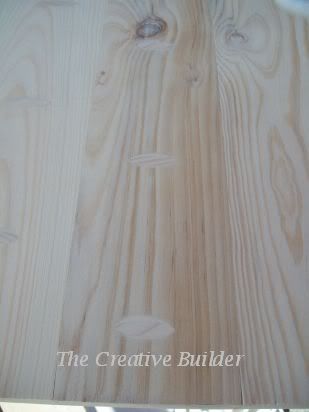
Once they were all cut a little sanding, some slight filling and it is all done.

Photobucket

Looks pretty good, much easier and cheaper than having to use filler to fill the pocket holes.

Until next time.... Happy Building

Tuesday, August 9, 2011

Dining Table - Part Four - The tabletop

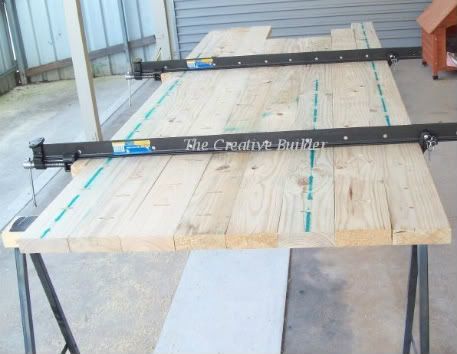
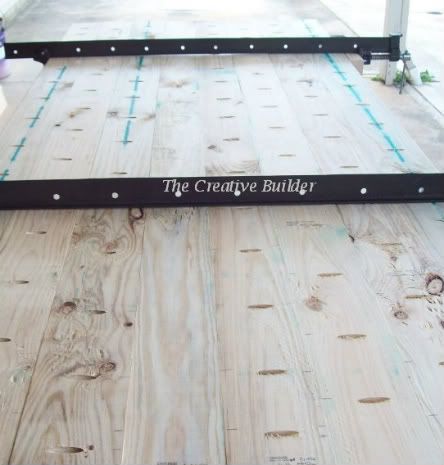
After drilling approximately 120 pocket holes I joined the table top together once I had planed the side of the planks flat. Clamped together by heavy Sash clamps I was able glue and easily drive the pocket hole screws in.

Here is the first picture, the guy at Bunnings didn't listen correctly when I gave the directions on how long to cut the lengths so I ended up with lengths longer than the other fortunately the shortest length was plenty to cover the length of the top.

Photobucket

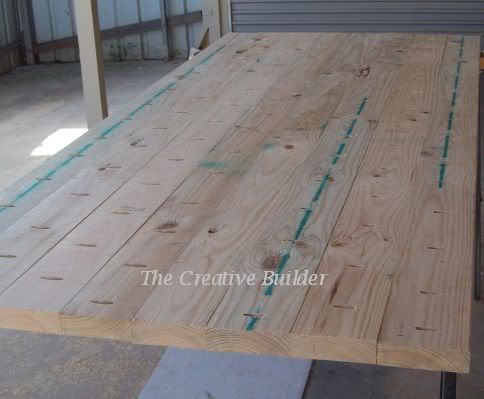
Here is a closer picture of all the pocket holes

Photobucket

And once I removed the clamps and trimmed down the ends to the correct length, its looking good.

Photobucket

The other problem with the wood was it was terrible to work with, very uneven and bowed. But I have a plan which will flatten that table top without me spending days trying to sand it. All will be revealed soon.

Until next time.... Happy Building

Wednesday, July 27, 2011

DIY Frosted Glass look

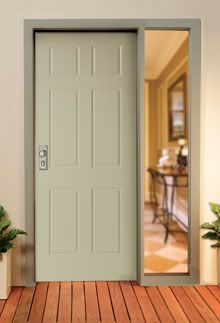
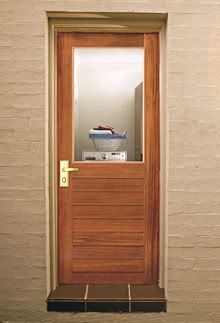
Have you got a door side glass that is clear or in fact any door with clear glass a bit like below that you wanted to make a bit more private

Photobucket Photobucket


Then check out the fantastic tutorials over at 
Thrifty Decor Chick: Before and After Party: A Private Pantry
or over at Decorating Cents check out the tutorial on a pattern frosted look: Outside Looking in

These are great cheap ways of converting that clear glass into a frosted look while still letting the light in, what a fantastic idea.

Saturday, July 23, 2011

Dining Table - Part Three - Braces and Primer Undercoat on

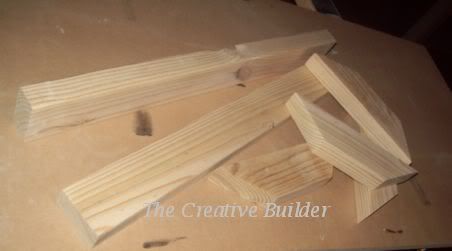
At the end of the week I had the corner and middle braces cut with pocket holes drilled for each of them.

Photobucket

and now attached to rest of frame ready for painting

Photobucket

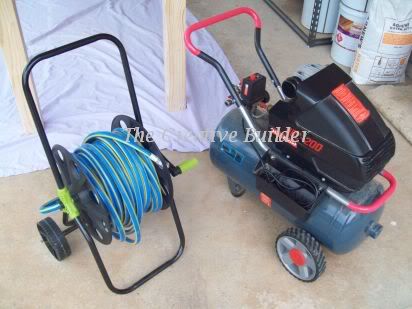
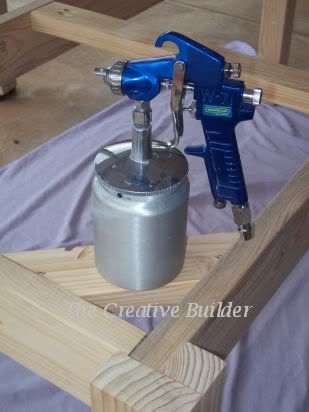
Whenever I have to paint I now try to spray on my painting finishes when possible, this is because it gives it a shop like consistent look. I use an air compressor and spray gun, the air compressor was purchased from Super Cheap Autos and the Spray Gun from Bunnings. Yes that is a garden hose reel I adapted to store the air hose, those things are unweildly when you don't roll them up.

Photobucket
Photobucket

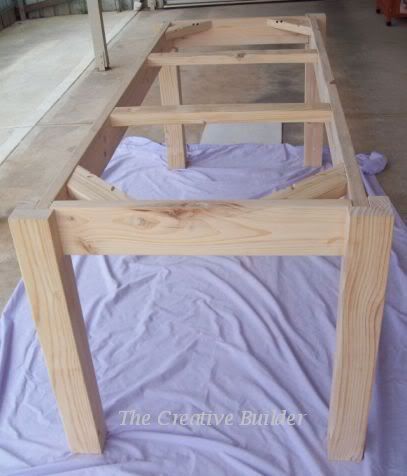
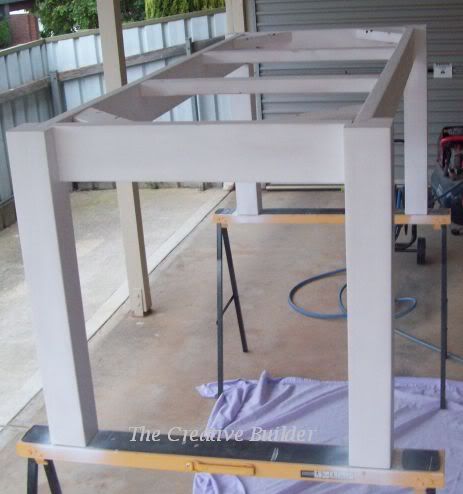
So after a couple of coats of Primer here is the frame of the table, a light sanding with 240 grit sandpaper between coats makes the difference between a good paint job and a fantastic smooth one.

Photobucket

Hopefully tomorrow can start with painting the topcoat.

Until next time .... Happy Building

Tuesday, July 19, 2011

Dining Table - Part Two - The Aprons

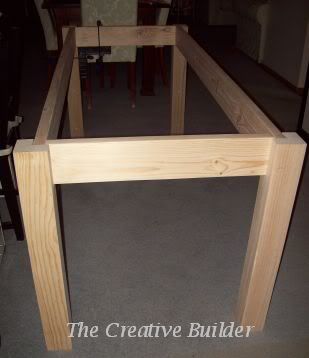
Tonight I got stuck into attaching the aprons to the legs of the dining table, the aprons are made using 35 x 120mm structural pine. First job was to attach the side aprons directly to the legs, as these are going to be the ones that will be most load bearing. So after about 1/2 hour using lots of wood glue and counter sinking screws to ensure a good joint and bond, I had this.

Photobucket

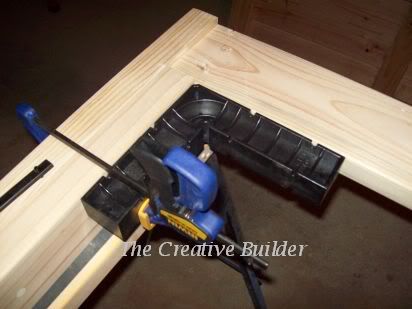
To ensure the aprons were square to the legs I used a handy tool called a Clamp it. This ensured when screwing the aprons to the legs everything was kept square. I bought these in from Rockler a US based tool company because I haven't yet found these here in Australia. They are strong and work extremely well.

Photobucket

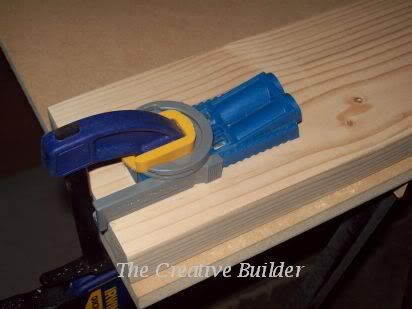
So once I had the side aprons square and attached I worked on the end aprons. To attach these I decided to use pocket hole joinery. Introducing my Kreg Jig Junior, this fantastic tool creates tidy and neat pocket holes easily with little effort. Pocket holes are a strong type of joint using the direction of how the screw is driven into the wood to provide a strong clamping bond. In a future post I will talk more about this jig.

Here is my Kreg Jig Junior ready for action,

Photobucket

Once finished these were created, how cool is that .... well I think they are cool

Photobucket

Now the pocket holes were drilled I moved inside because it was getting a little chilly out there and proceeded to attach the end aprons to the base. So here it is sitting in my formal dining room waiting for the next step of adding braces to strength the corners and a middle brace to support the tabletop when it is ready.

Photobucket

Until next time.... Happy Building

Monday, July 18, 2011

Dining Table - Part One - The Legs

The table we have in our meals area as mentioned in the My New Chairs post has outgrown our family. When we have visitors or guests come to stay, our only place to get everyone around is our formal dining table. Now this would work except we have cream fabric chairs which becomes a magnet for all sorts to end up on them... I know bad colour choice but they were bought before kids.

So I decided that I needed a dining table that could seat at least six people but when I looked in the catalogues and in furniture shops I just could not bear to pay the price they were asking for a flimsy bolted together table. I wanted something that could stand up to the traffic it would get as a everyday dining table, which meant I needed to build it because what I could find that would meet my requirements was going to cost 1000's.

So I sketched out what I wanted after inspecting rather closely how my formal dining table was made. Did the calculations for the wood required and off to Bunnings I went. At this stage I only purchased the wood required to complete the legs, aprons and bracing for the frame.

I had last week off as annual leave, due to kids being on school holidays, with grand plans in tow. I started my table hoping that by the end of the week in between the kids activities I would get the frame completed.... did that happen ummmm No.

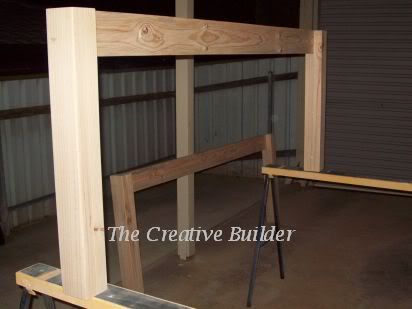
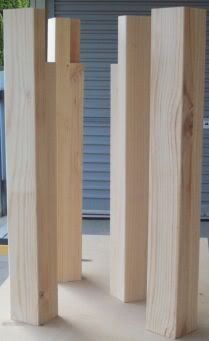
I did however get the legs done and fine sanded, I also filled in the knot holes and fine sanded the aprons, so they are virtually ready to put together. So here are the legs all sanded and knotched ready for the aprons to be attached.

Photobucket

The legs are made from 2 peices of 35 x 90mm structural pine joined together with construction adhesive (aka Liquid Nails) and counter sink screws. To ensure I got a flat surface for the joining faces once I cut to length, I ran them through my Jointer to plane the surfaces nice and flat eliminating the rounded edges found on structural pine. In a future post I will talk more about my jointer and what you use one of these for.

Until next time Happy Building

Saturday, July 16, 2011

Safety First

I think my first subject post needs to be on safety, this is of course the most important part of undertaking building of any kind.

The basic safety equipment needed are

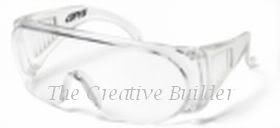
Eye Protection - made of shatterproof plastic will protect eyes from flying debris.

Photobucket

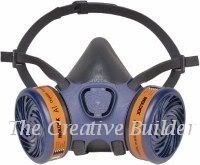
Breathing Respirator - when sanding your wood the amount of fine particles released into the air is amazing. If you do not wear a mask of some kind you will inhale these particles which is not good for your respiratory system. If you are exposed to this for over a long period of time you can develop issues with your breathing. Some wood contains some rather nasty stuff so save yourself and wear one of these.

Photobucket

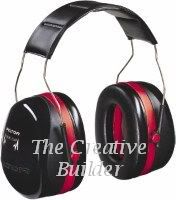
Hearing Protection - some of the tools that you use are extremely loud, protecting your hearing is just as important as your breathing.

Photobucket

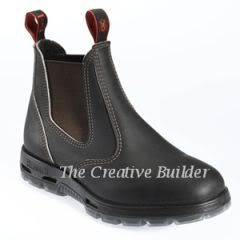
Footwear - Do not wear your newest opened toed slip on's while you are using tools, you drop a piece of wood or tool on your toe and its going to hurt. You need closed toe shoes preferably steel caps however this is not something most have in their closets so wearing sneakers is passable.

Photobucket

Tool Manuals - They are included with tools for a reason. Make sure you read them, they contain important safety information on the tool you will be using. Many saws for example can kick back wood if not handled correctly, this can be very dangerous when a piece of wood goes hurdling across the shed. So once again make sure you read any manual provided with your tools.

Hope the above helped a little, before you pick up any tool or start any work you need to make sure you take safety first, never become complacent because this is when accidents happen and fingers or other limbs become injured.

Friday, July 15, 2011

My New Chairs and What a Bargain

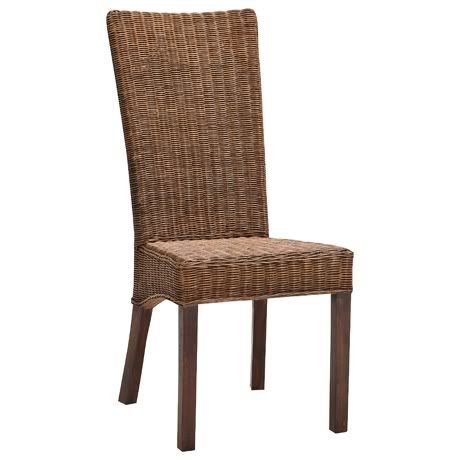
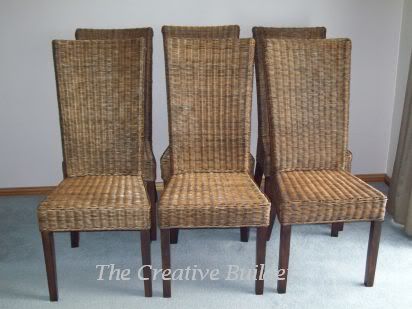
I have been drooling over these chairs for so so long but at $149.00 each which is an ok price for chairs I just couldn't do it, but I so love them.

Photobucket

I am building a new dining table for our meals area, our 4 seater table has been outgrown so time for a bigger one to fit more people around when we have visitors or guests come to stay. My solution was that I would buy only 2 of these chairs for the ends and build benches for the side. So I still get my fix of having these chairs but not shelling out nearly $900.00 for 6 of them.

So I went to Freedom where these chairs live to have a look and comfort test them. I was pleasantly surprised how how comfortable they were and they were on sale for $99.00. So I bought two and told I would have to wait 8 weeks for delivery.... Hmmm that's a long time but I can wait.

Yesterday I got a phone call from Freedom to tell me these were no longer available and if I liked I could pick the best 2 from the floor stock at a reduced price. So since I loved them so much I agreed.


When I got there today, I was told they would further reduce them to $60.00 each so in my cheeky wisdom asked if I take all 6 would you be able to do a better price. To my amazement they gave them to me for $50.00 each. Whoo Hooo I think they quietly thought I was mildly crazy as I skipped out the store.

So here they are all 6 of them now safely in my possession just waiting for the table to be finished.

Photobucket