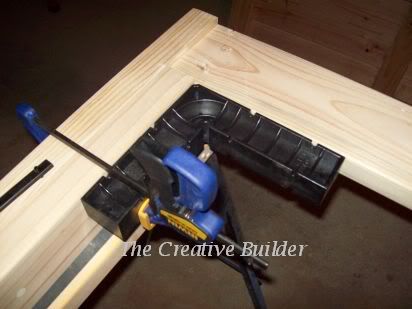
To ensure the aprons were square to the legs I used a handy tool called a Clamp it. This ensured when screwing the aprons to the legs everything was kept square. I bought these in from Rockler a US based tool company because I haven't yet found these here in Australia. They are strong and work extremely well.
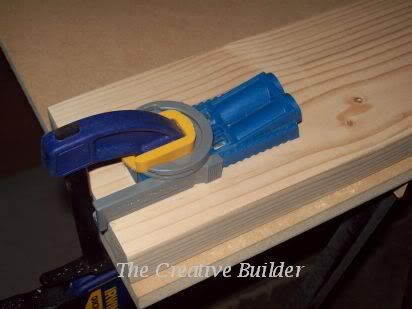
So once I had the side aprons square and attached I worked on the end aprons. To attach these I decided to use pocket hole joinery. Introducing my Kreg Jig Junior, this fantastic tool creates tidy and neat pocket holes easily with little effort. Pocket holes are a strong type of joint using the direction of how the screw is driven into the wood to provide a strong clamping bond. In a future post I will talk more about this jig.
Here is my Kreg Jig Junior ready for action,
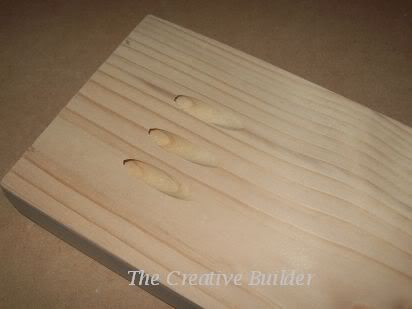
Once finished these were created, how cool is that .... well I think they are cool
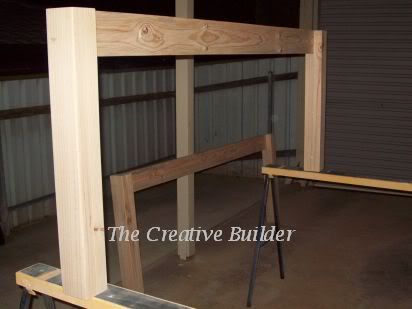
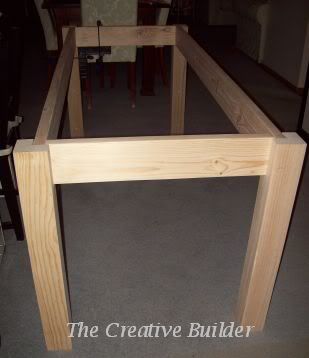
Now the pocket holes were drilled I moved inside because it was getting a little chilly out there and proceeded to attach the end aprons to the base. So here it is sitting in my formal dining room waiting for the next step of adding braces to strength the corners and a middle brace to support the tabletop when it is ready.
Until next time.... Happy Building



No comments:
Post a Comment